-
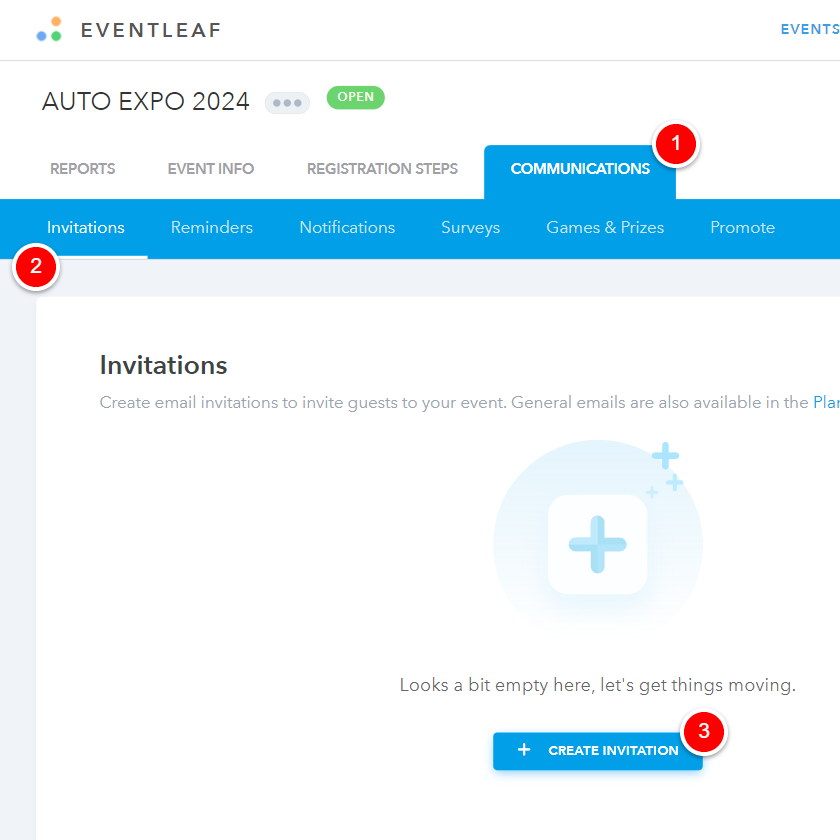
Go to Event > Communications > Invitations > Click + to create one > Create new invitation > Enter email name > Click create
-
Go to Event and click Communications
-
Select Invitation
-
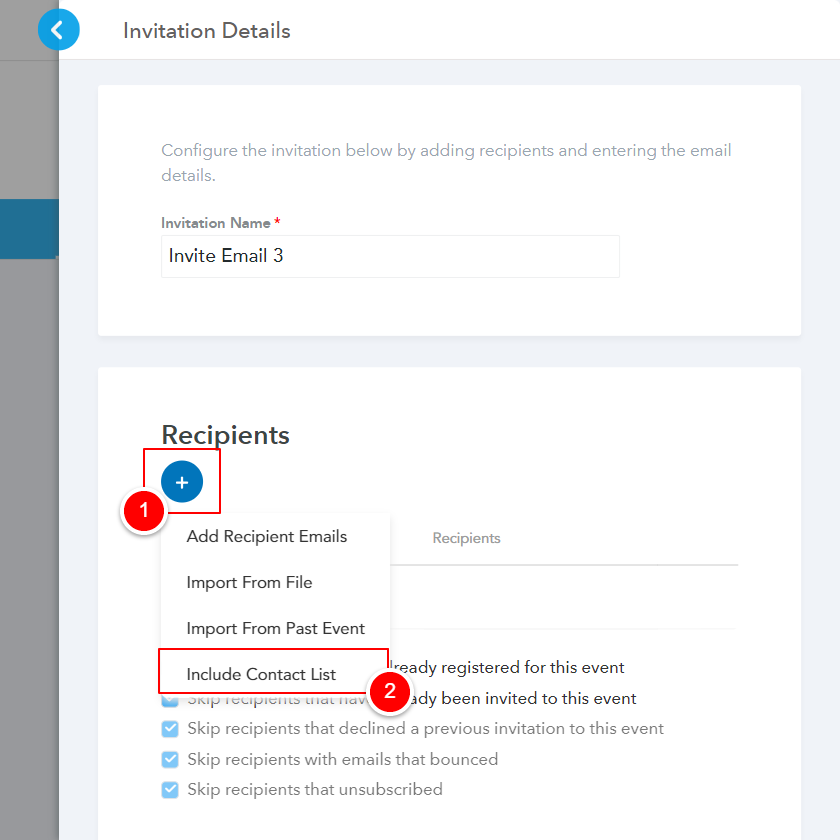
Click + sign to create an invitation email
-
Enter Invitation email name (emails names are unique)
-
Click Create

-
-
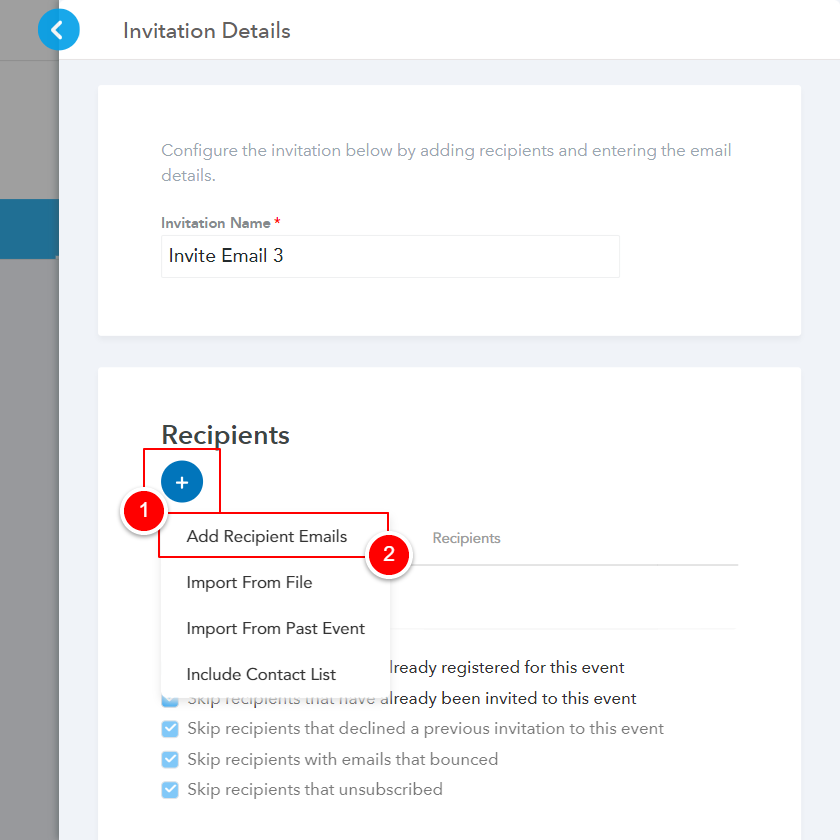
Upon successful creation message, system redirects user to email configuration screen allowing event planners add recipients and further manage other email controls
-
Add Recipient Emails - Allows you to create a recipient list and add multiple invitees on the fly. Email addresses are to be separated by comma
In case of an individual attendee, you can use their name in the recipient list name
-
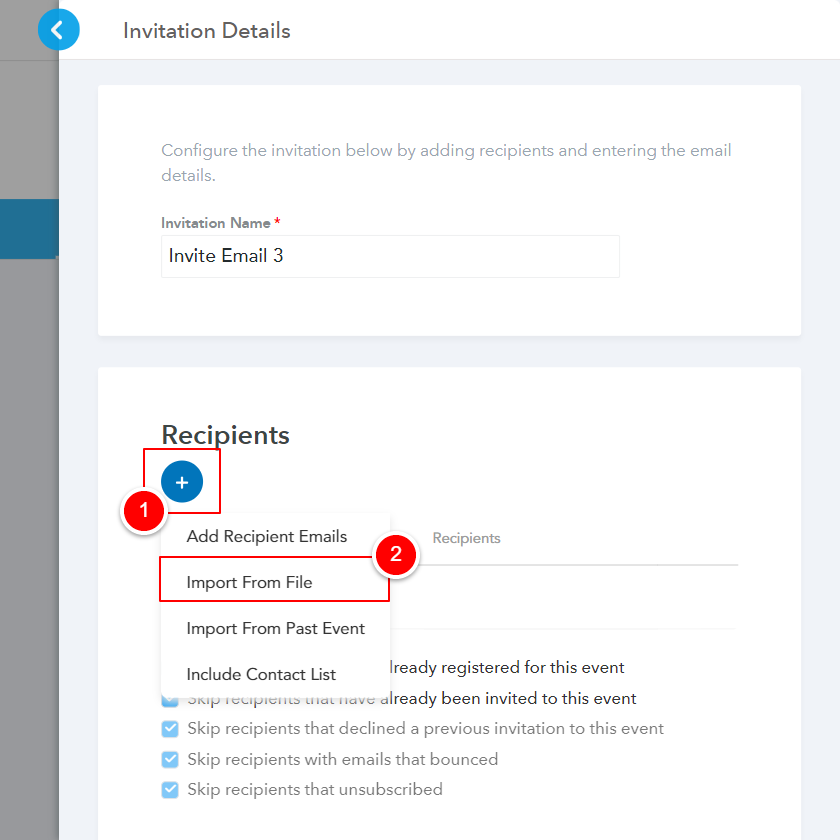
Import from File: Allows you to download a sample csv file and import a list of Contacts
-
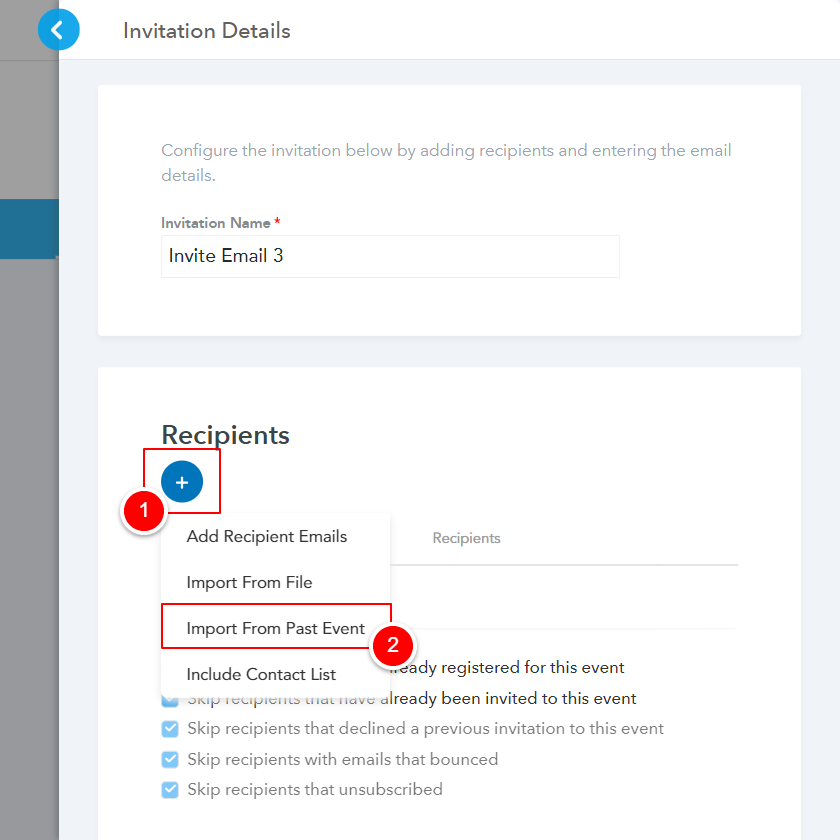
Import from Past Event: You can import invitees using a previously created Event
-
Include Contact List: You can use an existing Contact list which was previously created & add everyone to the event in one go.
-
-
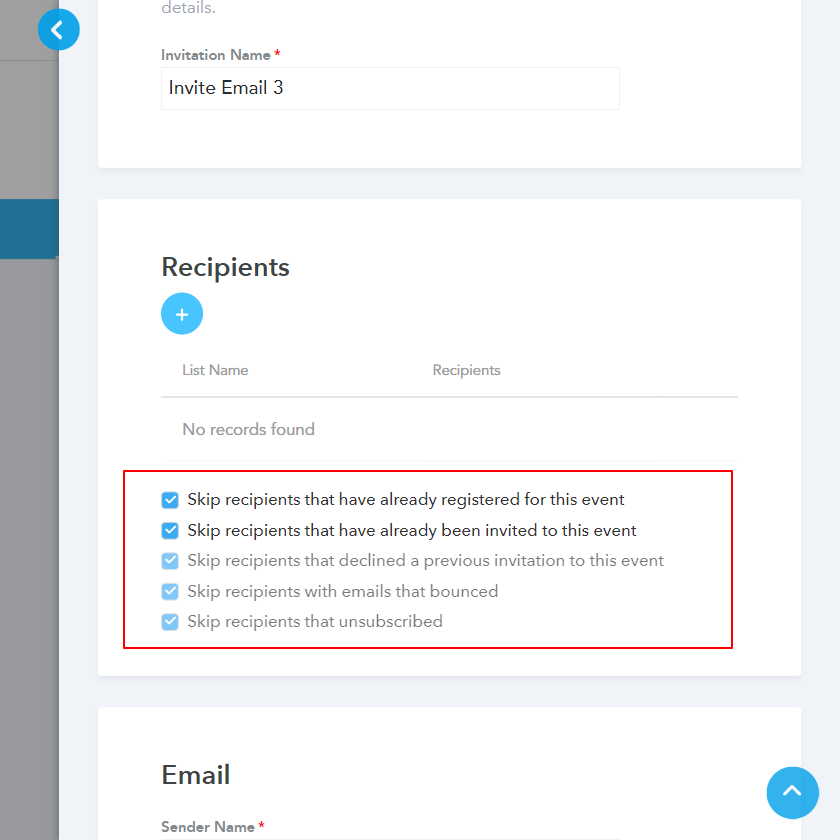
Choose additional recipient settings
-
Allow recipients to decline this invitation: Enabling this allows invitees to RSVP for your event
-
Skip recipients that have already registered for this event: Anyone registered & part of the email's recipient list will be excluded when sending the invitation email
-
Skip recipients that have already been invited to this event: This would prevent sending duplicates. Anyone who has already received a previous invitation will be excluded sending the invitation email
-
Skip recipients that declined a previous invitation to this event: Individuals who has declined a previous invite will be excluded (RSVP No)
-
Skip recipients with emails that bounced:If system previously identified an email address to be incorrect/ unable to receive emails then they will be excluded from the invitation
-
Skip recipients that unsubscribed:Anyone who has previously unsubscribed from receiving emails will be excluded
-
-
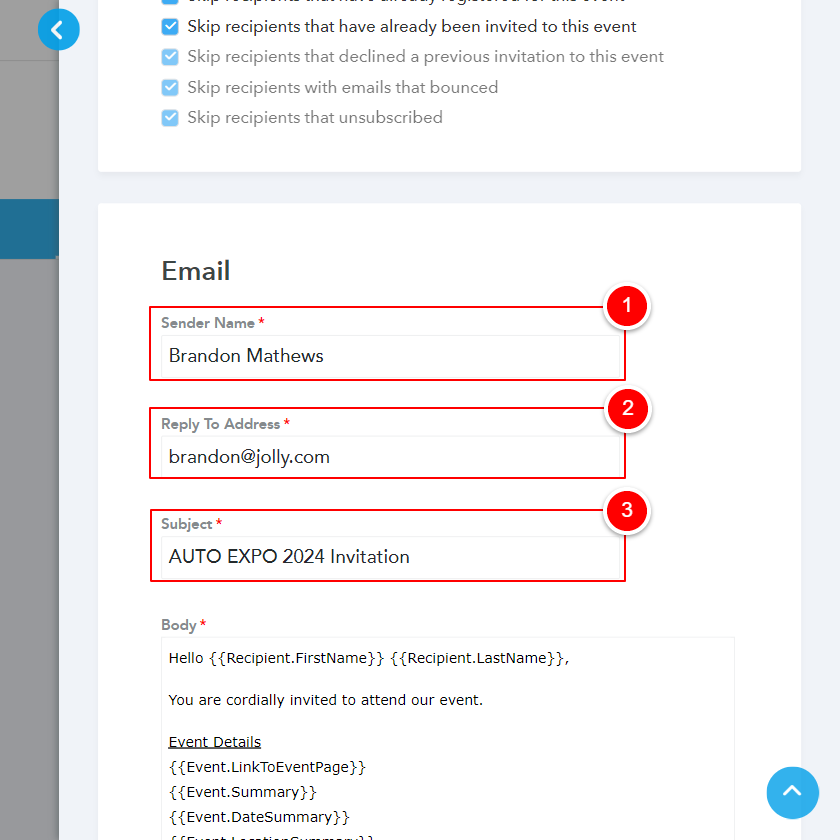
Configure email details and sender options
-
Enter Send name - Invitees would receive the email from this address
-
Enter Reply to Address - Upon receiving the invite, all invitee replies will be send to this email address. Example: You can chopose
-
Enter Subject
-
Configure Email body using tools menu
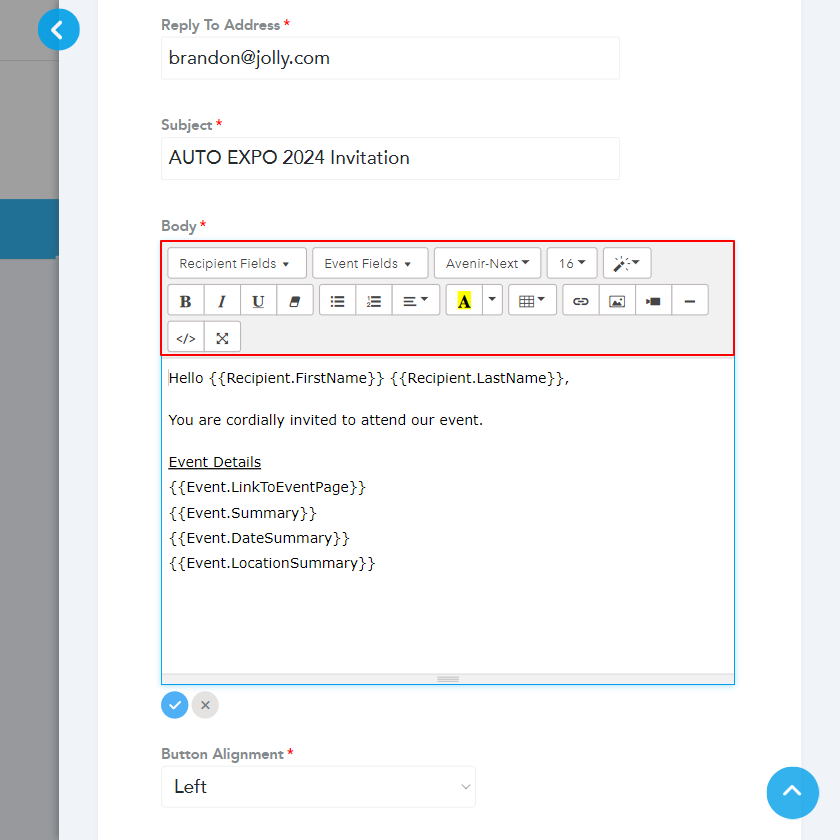
We suggest using recipient fields to personalize the email
-
-
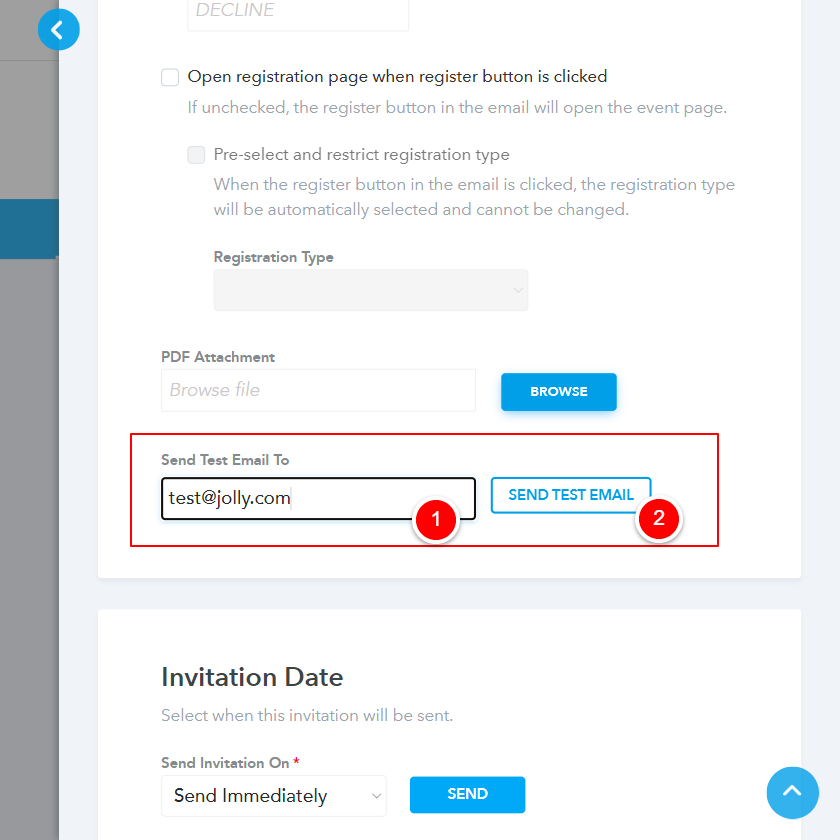
Sending a Test Email
-
Enter an email address
-
Click Send Test email
-
-
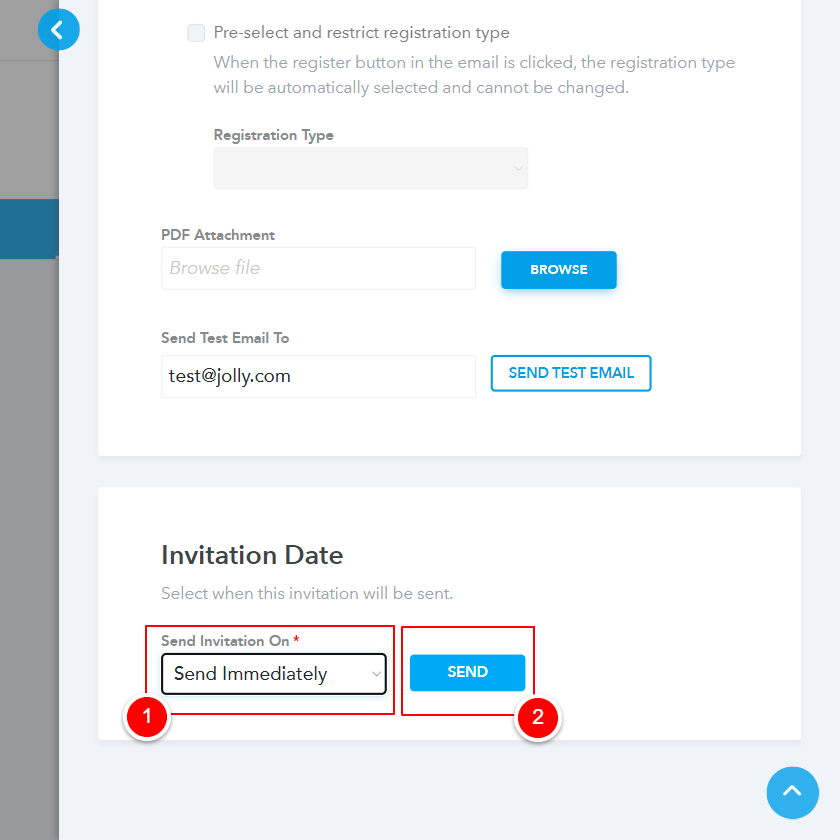
Choose send settings.
To send an email immediately choose Send Immediately > Click send
-
Choose send invitations as Send immediately (Event should be published)
-
Click Send
-
-
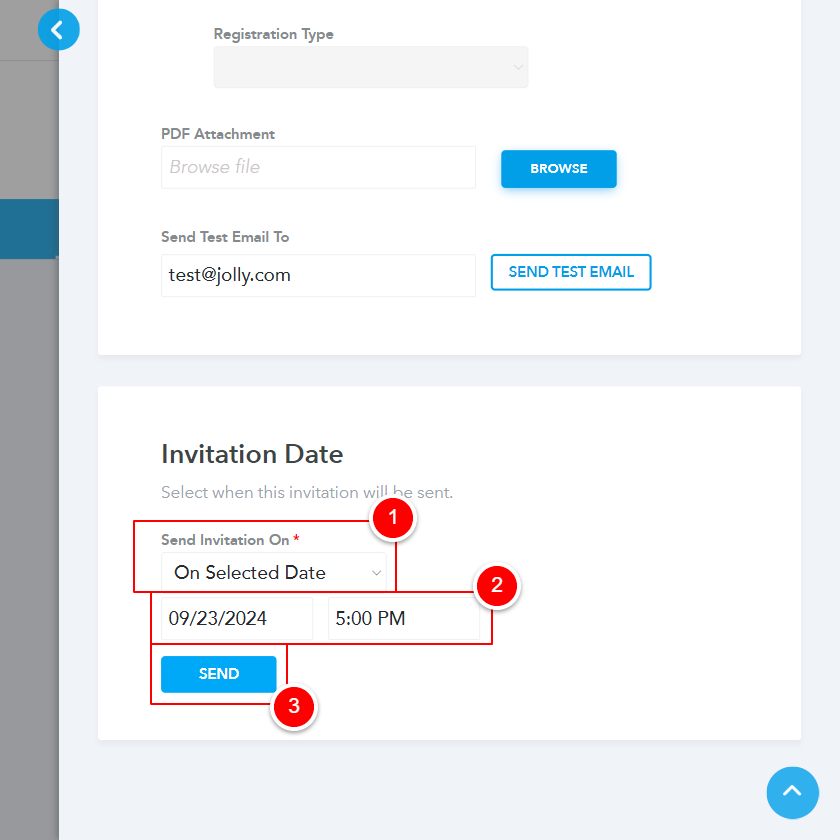
To schedule an email for later click On Selected Date > Enter send date and time > Click Send
-
To schedule an email click "On Selected Date"
-
Enter send date & time
-
Click Send
-