About Eventleaf Page Design

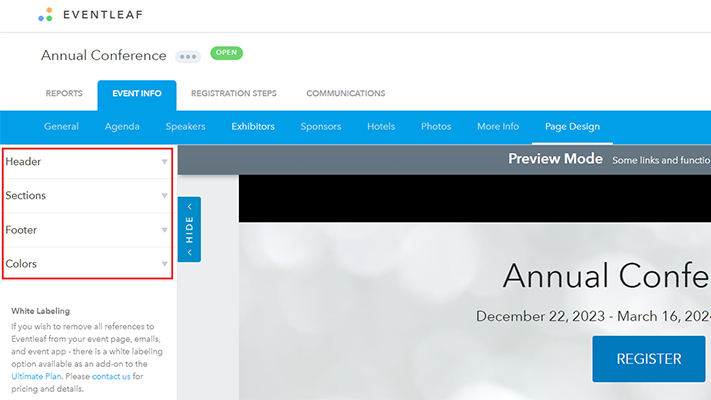
The Eventleaf event registration platform includes a built-in page designer that you can access from the event toolbar and utilize to add more personalization to your event website. The page designer is separated into 4 different areas to customize the event web page:
Header
Sections
Footer, and
Colors
How to Personalize Event Page Design: A Step-by-Step Guide
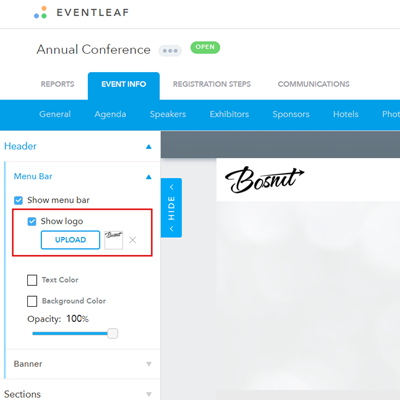
Header
-
Select the 'Show menu bar' checkbox to display a menu bar on top of the event page.
-
Select 'Show logo' and upload an image to display a logo in the top left corner of the event page
-
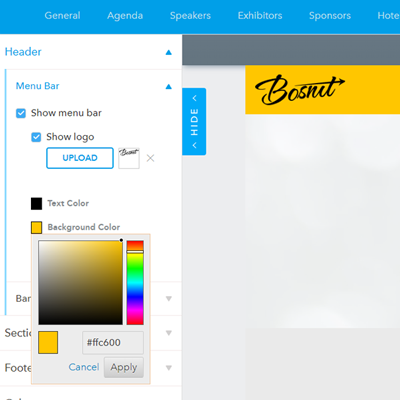
Click on the Text Color box to open the color picker or to enter in a hexadecimal color code for the text in the web page header

-
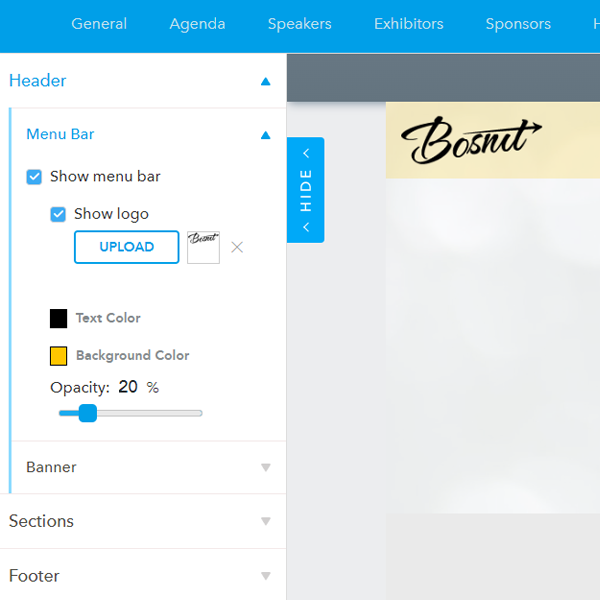
Click on the Background Color box to open the color picker or to enter in a hexadecimal color code for the menu bar color.
-
Drag the slider to adjust the opacity of the menu bar over the event banner image.
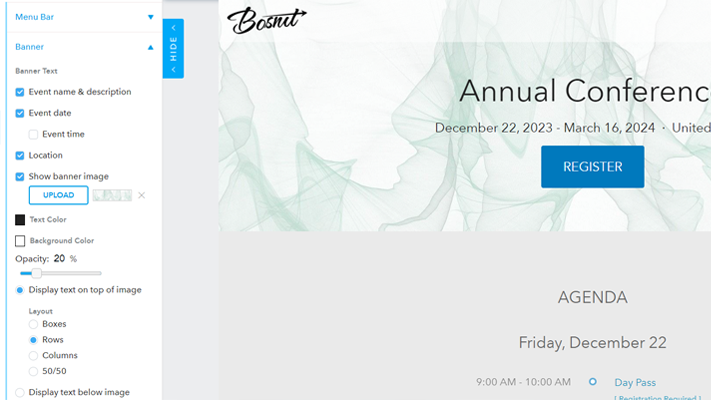
Banner
-
Click UPLOAD to upload an event banner image. If no image is uploaded, a background color will be displayed as the banner.
-
Select the text color and background color by selecting a color in those respective options.
-
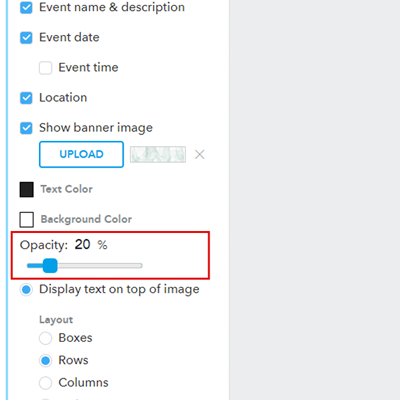
Adjust the opacity of the banner image relative to the background color selected.
-
Select whether to display the event information text on top of or below the banner image.If displaying the text on top of the image, select the layout of the text.
Sections
Sections allow you to customize the way different event elements are displayed, or not displayed, on the event's page. The elements that you can display and customize include the registration options, agenda, speakers, sponsors, exhibitors, hotels, photos, attendees, maps, and any important information that you decide to feature on the event's homepage.
Here's the simple, step-by-step process that you can follow to make your page more engaging.
Registration options
Update the display title if desired.
Select if you want to display the registration options on the main event page.
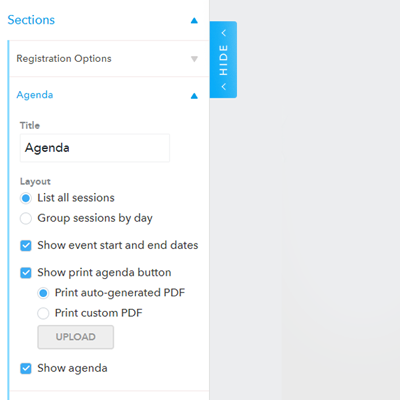
Agenda
Update the display title if desired.
Select the agenda Layout for your event page.
Select 'Show event start and end dates' if you want them displayed on your event page
Select 'Show print agenda button' if you want to allow attendees to download and print a PDF of the event agenda. If you want to upload your own PDF of the agenda, select 'Print custom PDF' and upload your PDF.
If you do not want to show the agenda, uncheck the 'Show agenda' option.
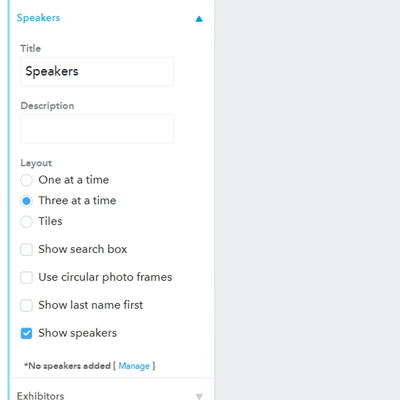
Speakers
Update the display title if desired.
Add a Description as subtext to the title.
Select the speakers Layout for your event page.
Select 'Show search box' to allow attendees to search the speaker list.
Select 'Use circular photo frames' to display the speaker photos as circular photos.
Select 'Show last name first' to display the speaker names with their last name listed first.
If you do not want to show speakers, uncheck the 'Show speakers option.
Exhibitors
Update the display title if desired.
Add a Description as subtext to the title.
Select the Exhibitors Layout for your event page.
If you have a an exhibit floor plan PDF that you want to allow attendees to view, click the Upload button and upload the PDF.
Select 'Show search box' to allow attendees to search the exhibitor list.
If you do not want to show exhibitors, uncheck the 'Show exhibitors' option.

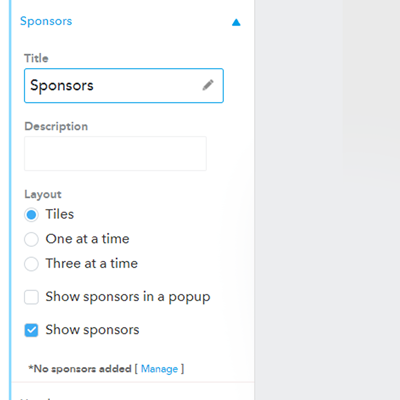
Sponsors
Update the display title if desired.
Add a Description as subtext to the title.
Select the sponsors Layout for your event page.
Select 'Show sponsors in a popup' if you want sponsors to be visible as a popup panel over the event page rather than as a separate section on the page.
If you do not want to show sponsors, uncheck the 'Show sponsors' option.
Hotels
Update the scetion title if desired.
If you do not want to show the hotels section, uncheck the 'Show hotels' option.
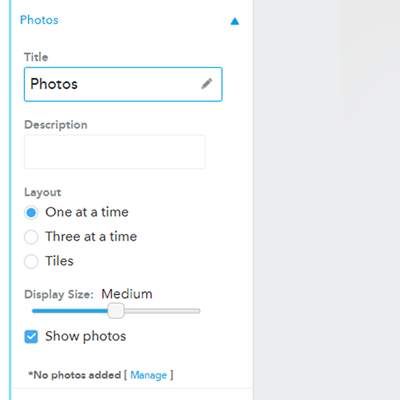
Photos
Change the section title if desired.
Add a Description as subtext to the title.
Select the photos Layout for your event page.
Adjust the slider to display photos as either small, medium, or large.
If you do not want to show the photos section, uncheck the 'Show photos' option.
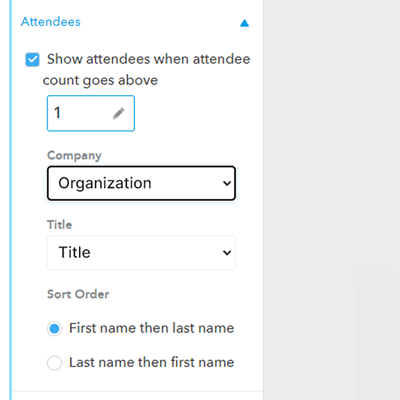
Attendees
If enabled, display a list of attendees on the event page when the attendee count goes above a specified number.
Select the field to display for attendee company.
Select the field to display for attendee title.
Select a sort order for the attendees on the list.
Location
Select Show Map to display a Google map of the venue location. Hide the map if it's a virtual-only event.
More Info
Change the section's title if desired.
If you do not want to show the More Info section, uncheck the 'Show more info' option.
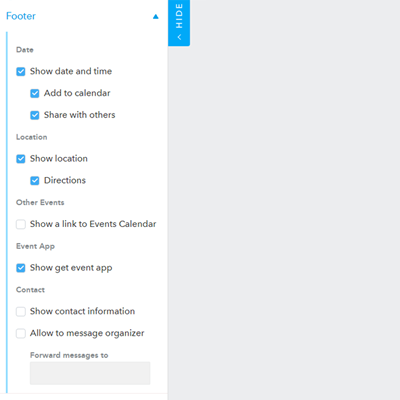
Footer
In the footer section, you can display any important information that is not shown in other sections. Here's how to customize the footer.
Select 'Show date and time' to display the event dates
Select 'Add to calendar' to enable visitors to the event page to add a meeting to their calendar for the event
Select 'Share with others' to enable a Share With Others link that allows event site visitors to copy the event URL.
Select 'Show location' to display the event venue name in the site footer.
Select 'Directions' to display a link that opens the location in Google maps in a new window.
Select 'Show organized by' to display the name of the organization as listed in the account profile.
Select 'Link to organization page' to link to the organization's event calendar on Eventleaf.
Select 'Show get event app' to display a link to the three app stores to download the Eventleaf Guide app.
Select 'Show contact information' to display the contact information from Event Info.
Select 'Allow to message organizer' to enable visitors to send a message through the event page. This option will enable a popup contact form on the event page.
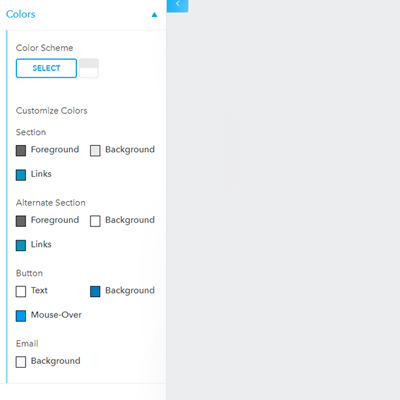
Colors
Finally, you can click on the Colors tab and follow these steps to adjust the color scheme of your event's website.
Click 'Select' to pick and enable a preset color scheme on your event page.
Otherwise, customize the colors on your event page by selecting each option and entering a hex color code or by usin the color picker.
Build a Unique Event Website that Attracts Attendees
By following the steps in this guide, you should now be well-equipped to tailor your event website to reflect the individual character and style of your event. Remember, the ultimate goal is to create a clean, user-friendly, visually appealing, and informative page design that resonates with your target audience. Start customizing your event page now and do not hesitate to book a free demo if you face any difficulty.