-
To design a custom event attendee badge:
-
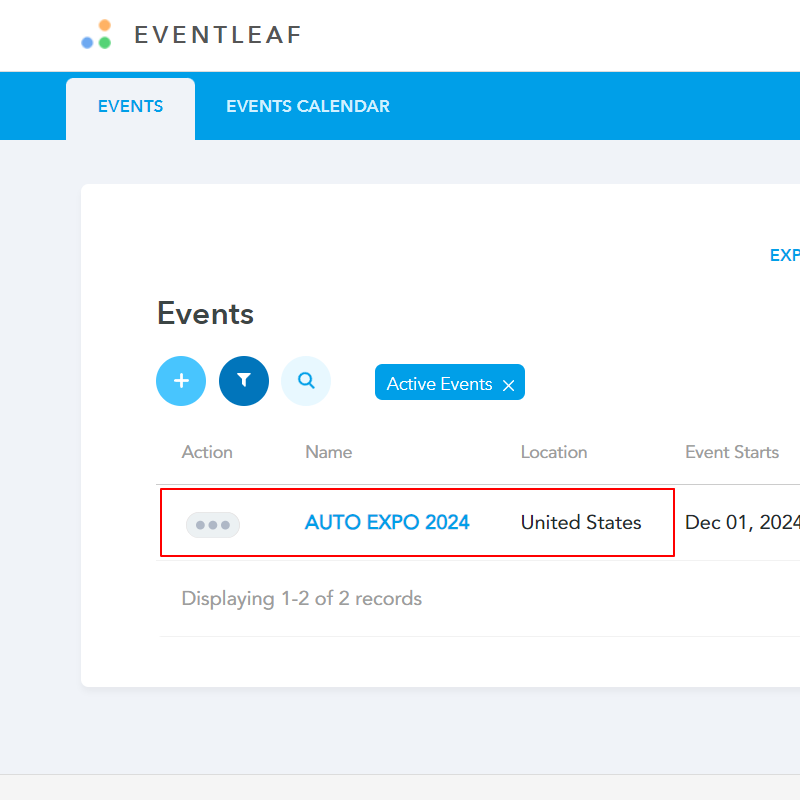
Log in to Eventleaf.com and then click on the name of the event.
-
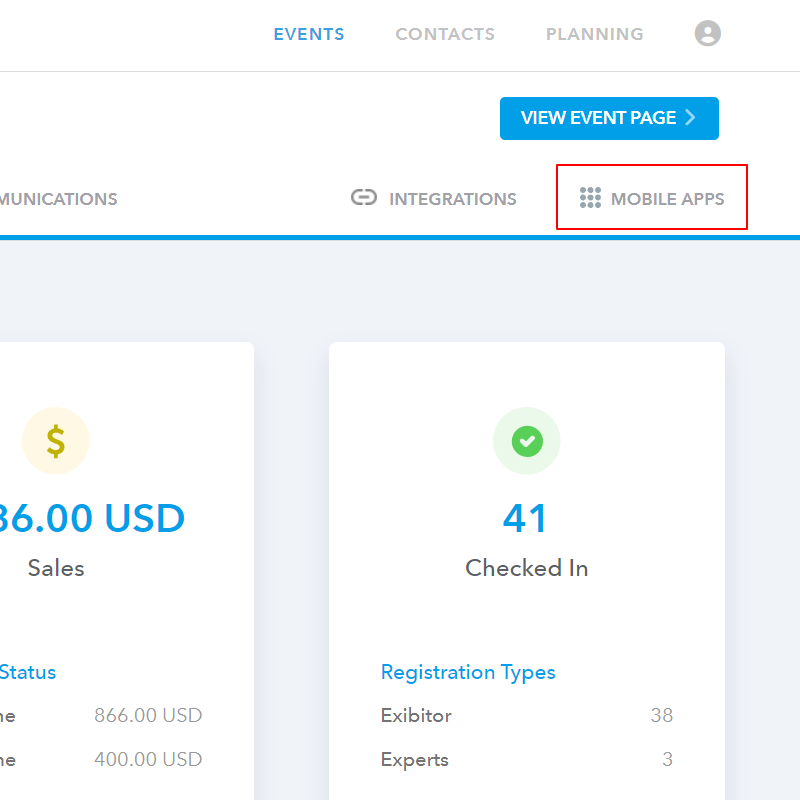
Click on "mobile apps" on the right side of the page.
-
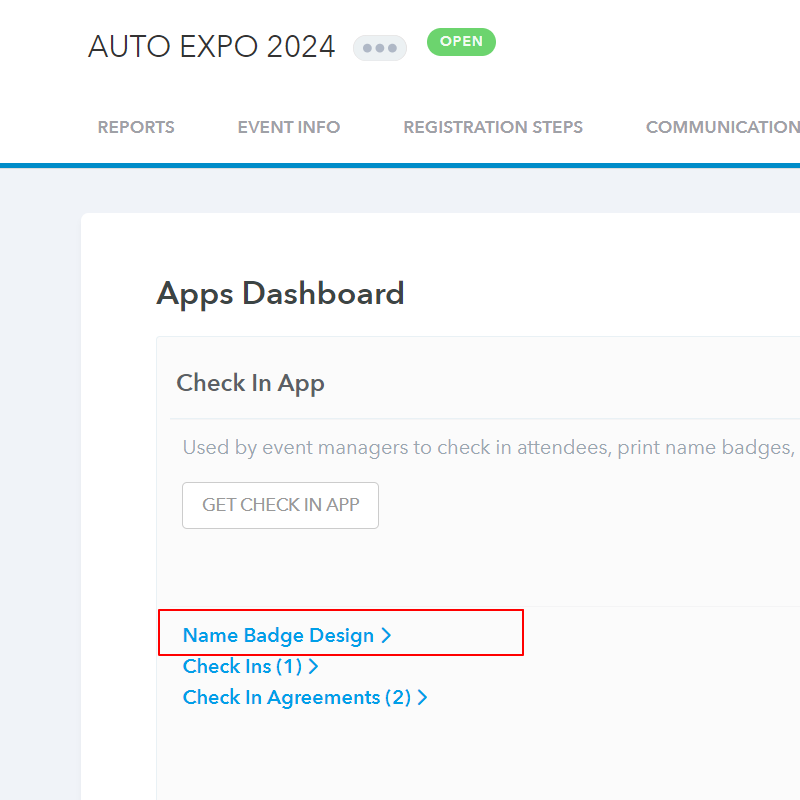
Click on "name badge design" under check in app section.
-
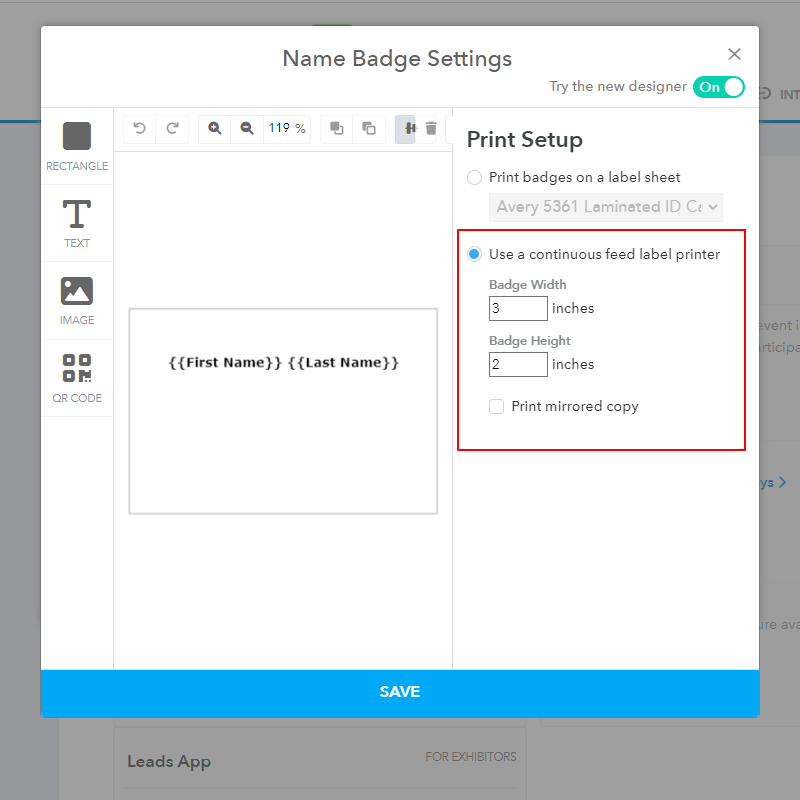
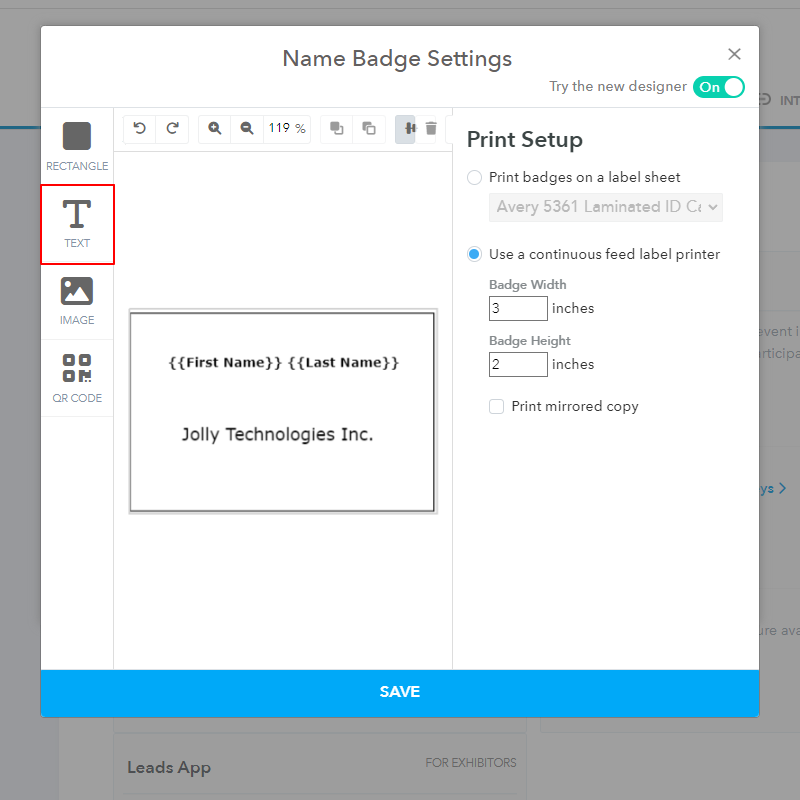
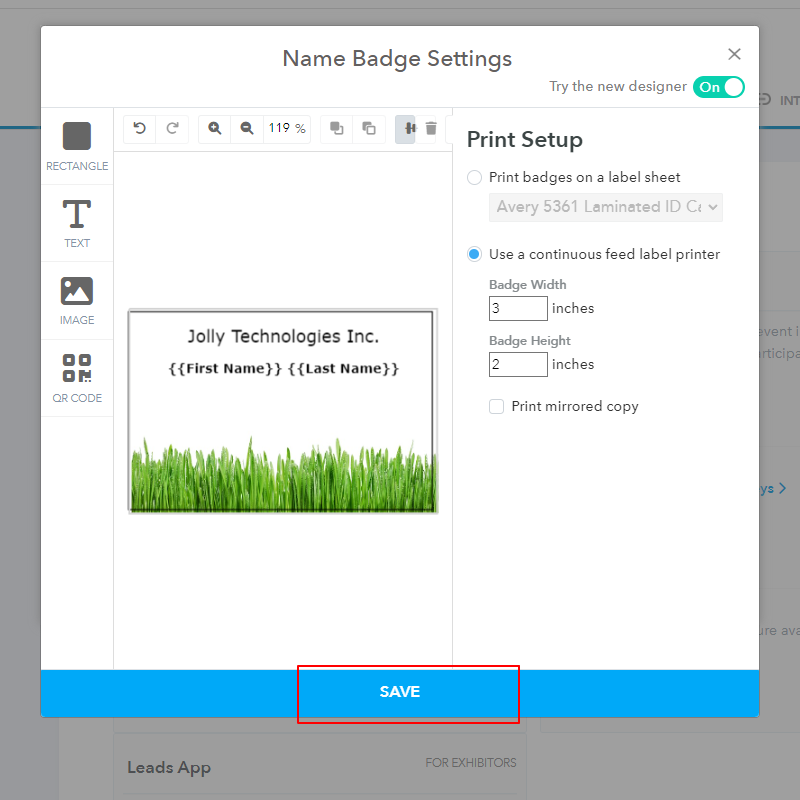
Once the badge designer opens, begin by setting the badge height and width as per your requirements.
-
You can add different elements on the badge to create a design as per your requirements. The different elements are as follows:
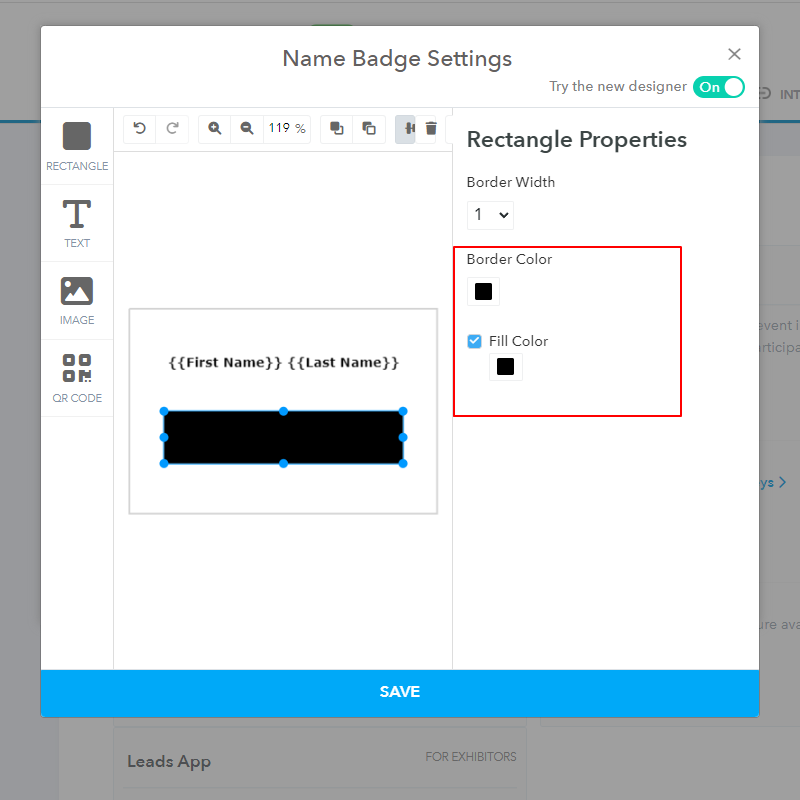
- Rectangle - You can add a rectangle in the badge to create a border around the badge or other elements on the badge.
- Click on "rectangle" at the top left corner of the designer.
-
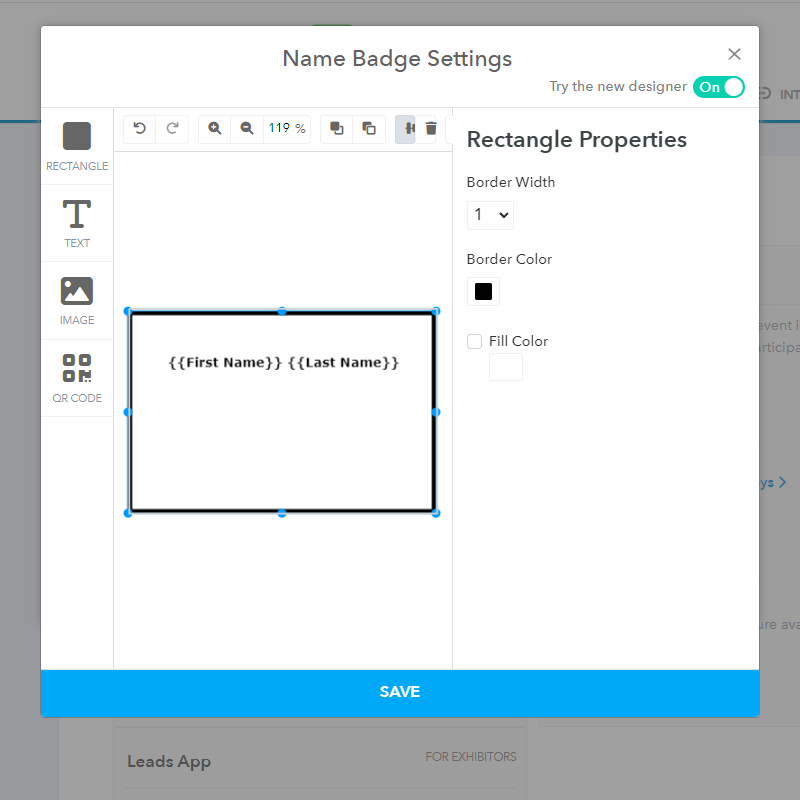
Select the border color and the color that should fill the rectangle. If you would like to use the rectangle as a border, then you can uncheck the "fill color" setting.
-
Drag the rectangle to change its placement and the size using the cursor.
-
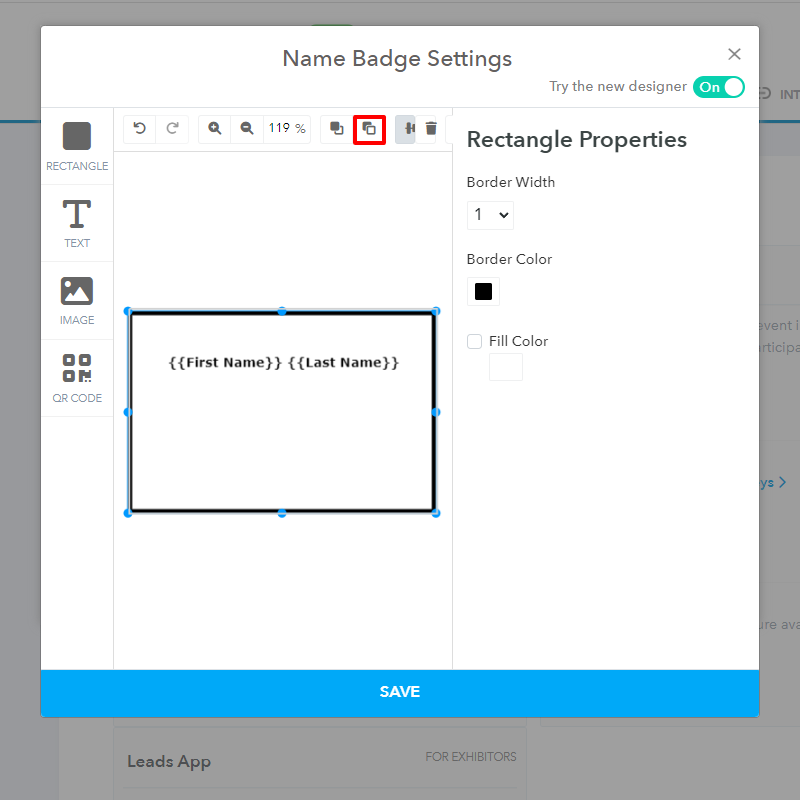
Click on the "send to back" icon to make it a background.
-
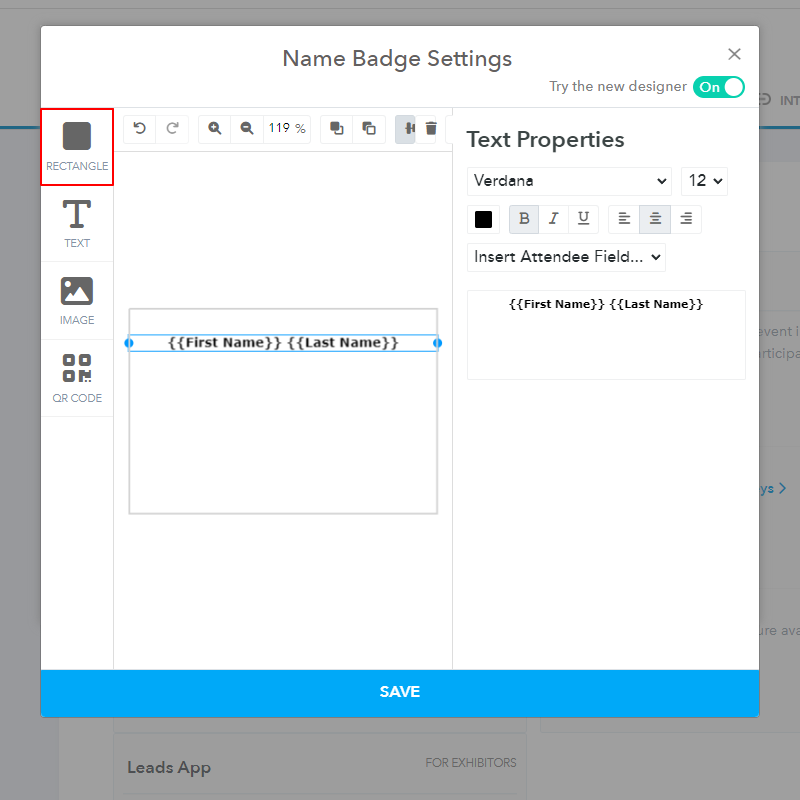
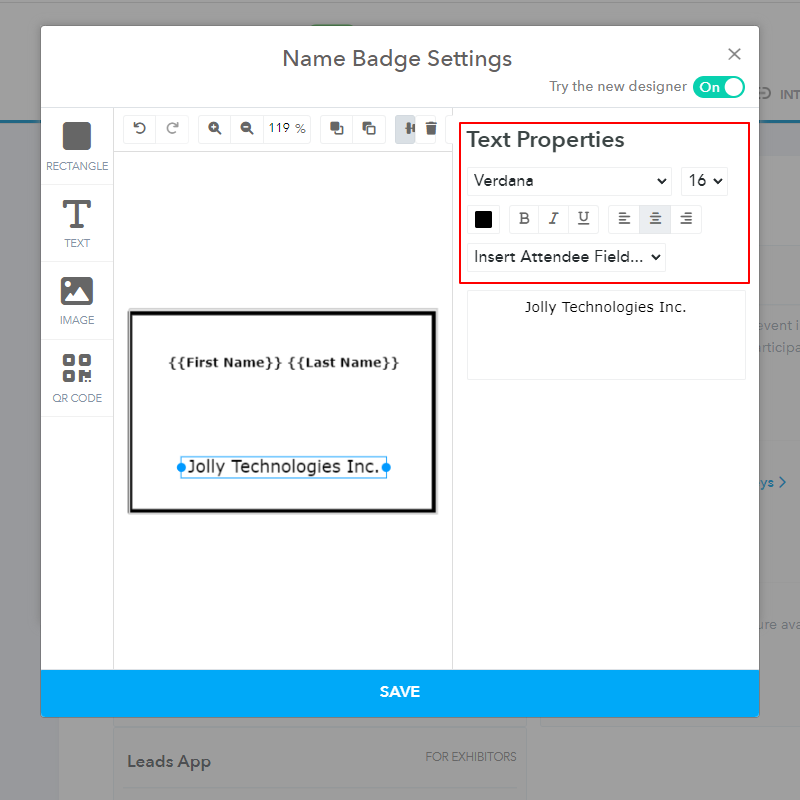
Text - The text option can be used to type in text that you would like to display on the badge. It can also be used to display information like the name of the attendee, the other details related to their registration and the details you captured through the attendee information form.
Click on "text" in the menu on the left side of the designer.
-
Type in the text or select the visitor field that should be displayed on the badge. You can add the element multiple times to display more details.
-
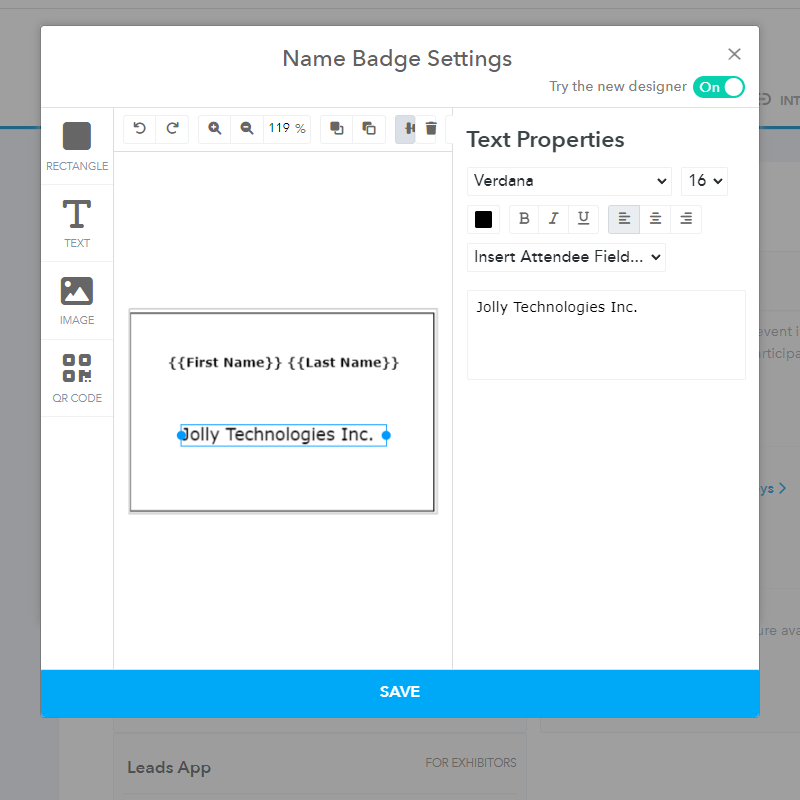
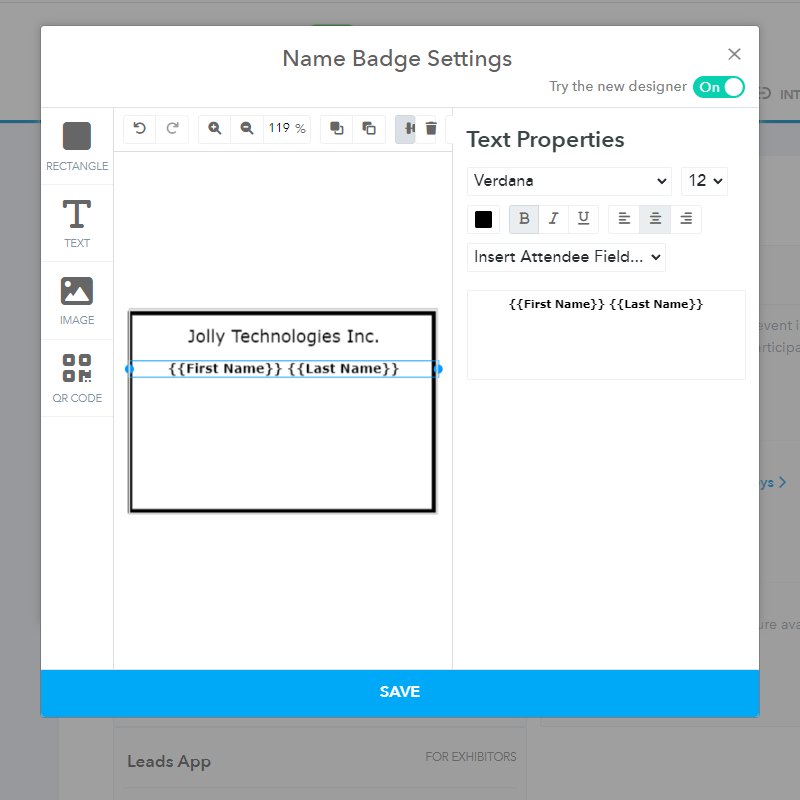
Set the text style, size and color using the "text properties" menu at the top right.
-
Drag and drop the text to change the placement and the size of the text using the cursor
-
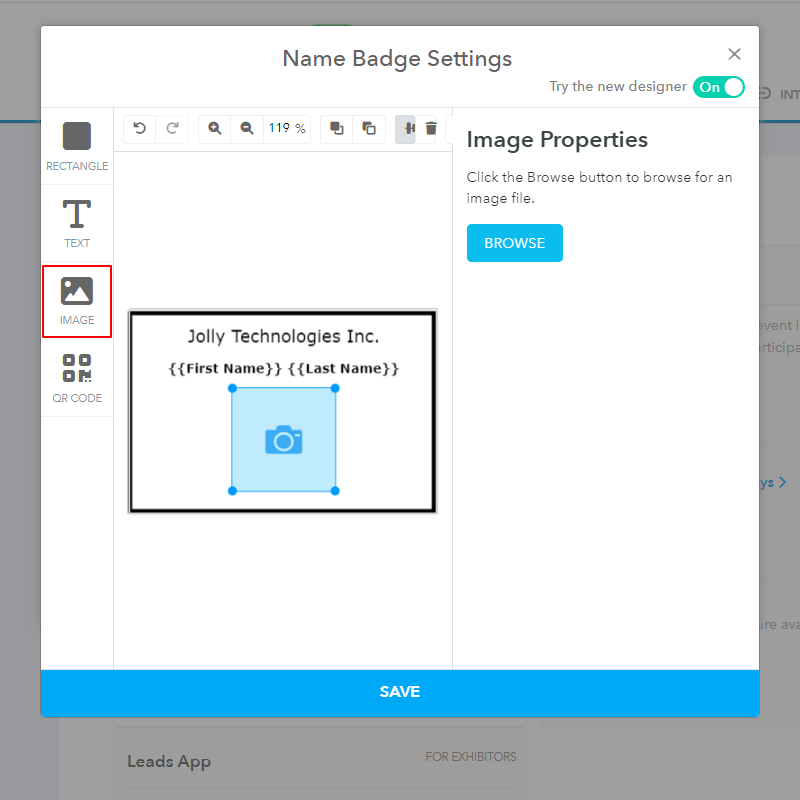
Image - The image option can be used to add a background image, company logo or any other image that you would like to include in the badge.
Click on "image" in the menu on the left side of the designer..
-
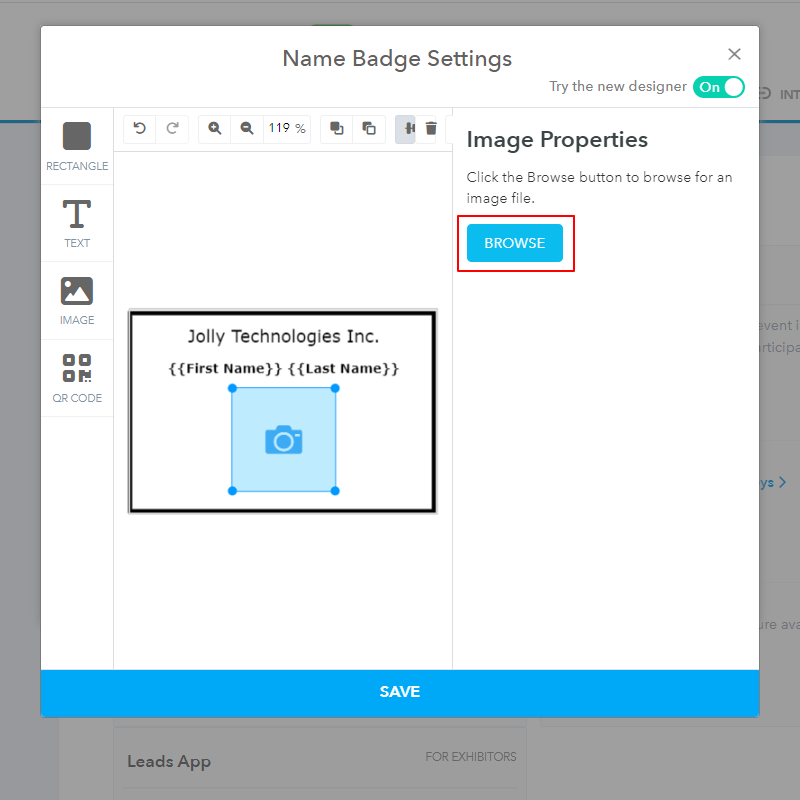
Then click on the browse button to find and upload the image.
-
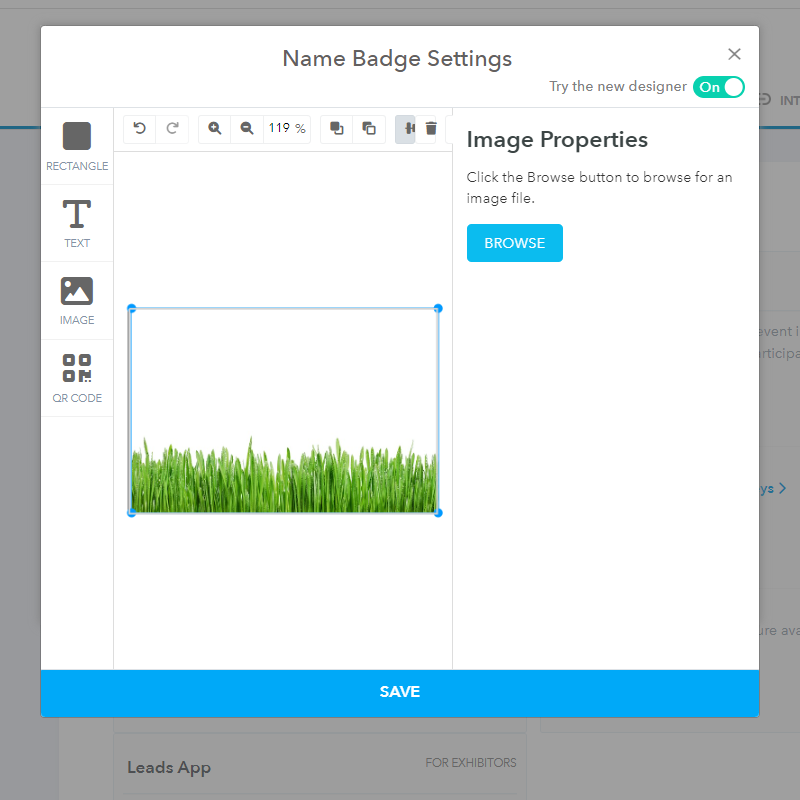
Once the image is uploaded, drag and drop the image to change the placement and the size of the image using the cursor.
-
Click on the "send to back" icon to make it a background.

-
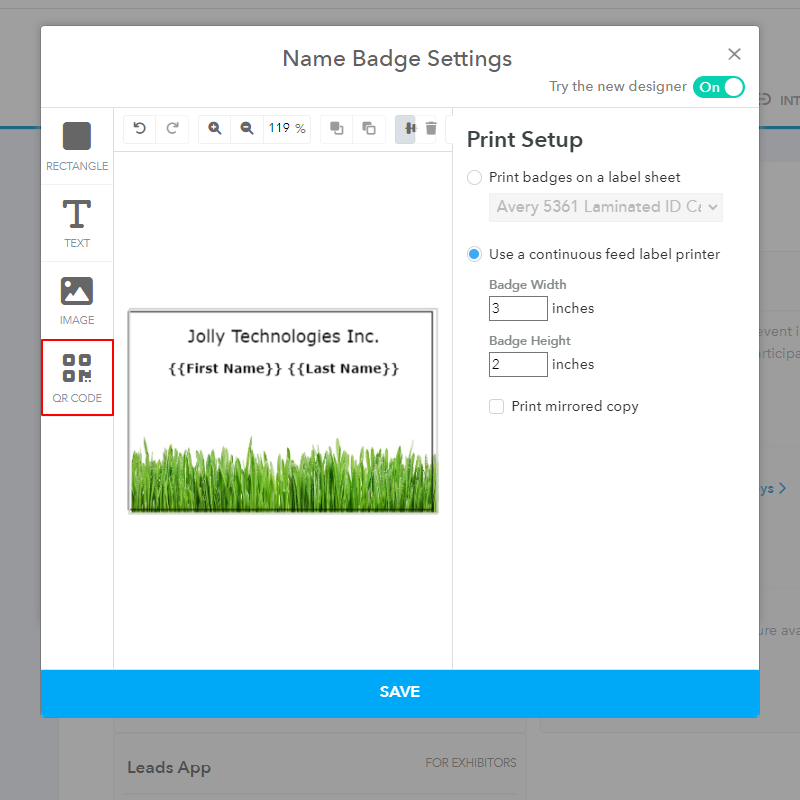
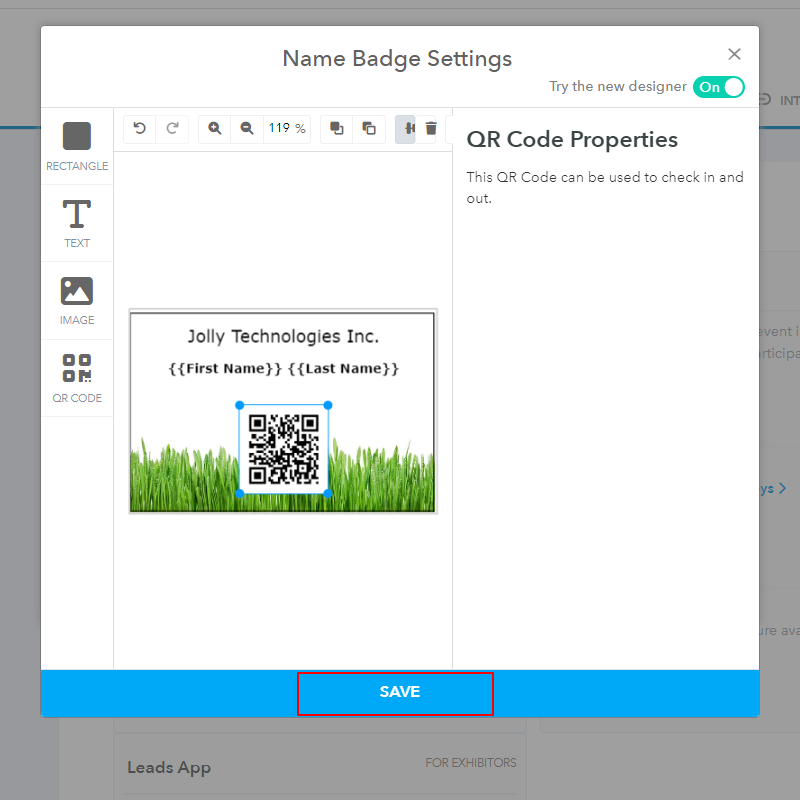
QR Code - You can also add a QR code on the badge which is generated based on the registration confirmation code and is unique for each registrant. It can be used to check in and check out the registrants using the Eventleaf check in app.
Click on "QR code" in the menu on the left side of the designer.
-
Drag and drop the QR code to change the placement and the size of the QR code using the cursor.
-
When you are done, click "Save" to save the design.
-